

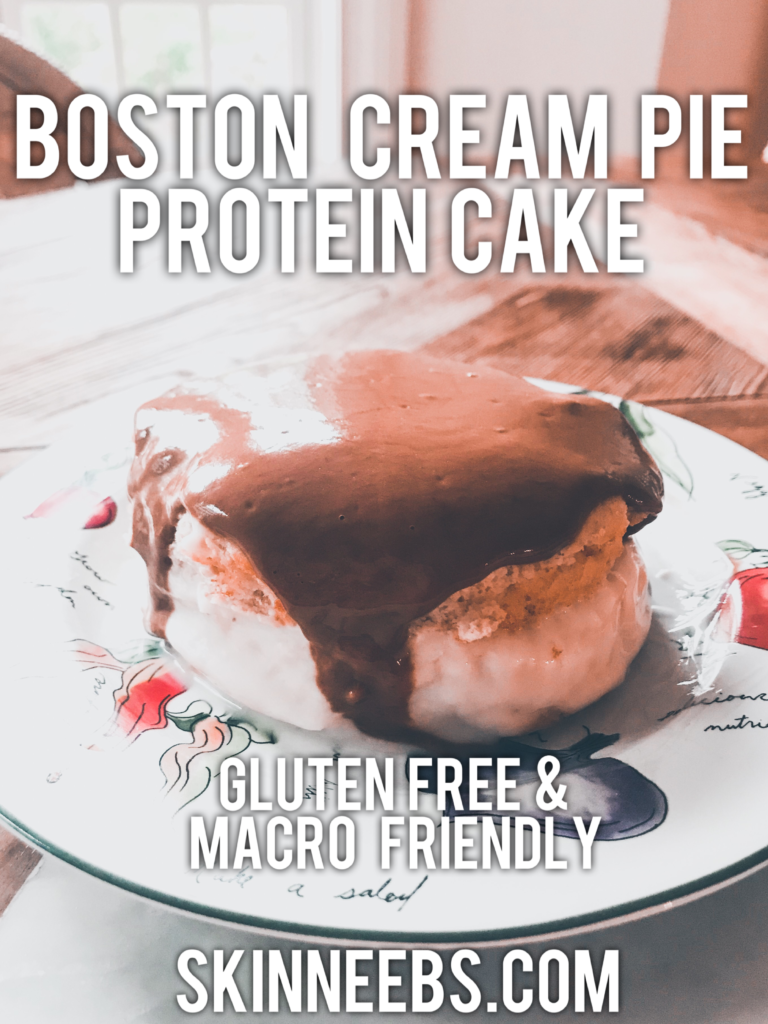
Boston Cream Pie Protein Cake
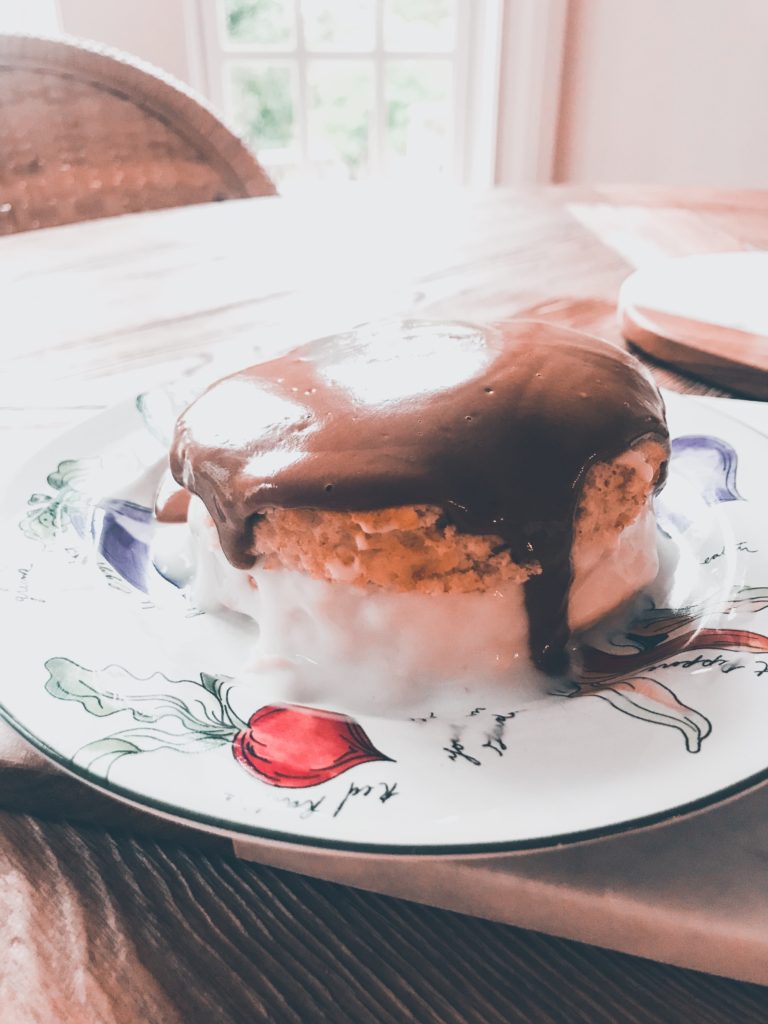
This recipe is another one of my experiments with Lil Buff Protein Cake Mix – other than being a little difficult to remove from the pan after baking I have really enjoyed baking with this cake mix so far. I was really happy with how this cake turned out, it really is like a Boston Cream donut made into a healthy cake.
Again this recipe is not dairy free, due to the cake mix and the yogurt I used for the filling/frosting. However, it is gluten free, high in protein and extremely filling! I cut this cake into quarters to make 4 servings of 140 calories each(with 9.2g of protein)
You could experiment with making this cake with other flavors of Yoplait Light yogurt, there are lots of dessert flavors that I think would work well!
Ingredients:(makes 1 cake, 4 servings)
- 1 Lil Buff Fitfetti Cake Mix(57g)
- 1/2 cup unsweetened apple sauce
- 2 tbsp unsweetened almond milk
- 44g liquid egg whites
- Butter extract
- Yoplait Light Boston Cream Pie Yogurt
- 15g Lily’s Semi Sweet Baking Chips
- 3g Earth Balance European Style Buttery Spread
- Coconut oil spray, or other non-stick spray
Nutritional Info(for 1/4 of whole cake):
140 calories – 9.21g Protein / 15.43g Carbs / 4.58g Fat
Instructions:
- Preheat oven to 350 degrees
- Mix cake mix, egg whites, almond milk, apple sauce and butter extract
- Grease 2 medium ramekins and divide batter between them
- Bake for 15 minutes
- Remove cakes from oven when done, loosen and remove from ramekins
- In a separate bowl combine baking chips with buttery spread, microwave for 10 second intervals until melted(stirring in between)
- Spread about half the container of yogurt on top of one of the cakes
- Place second cake on top of the first cake(yogurt in the middle)
- Mix remaining yogurt into chocolate mixture and spoon over top of the cake stack
- Enjoy! Refrigerate for up to 2 days